Placing Jet views into Multiview / Tabview
You can place Jet views inside Multiview.
1. Multiview control
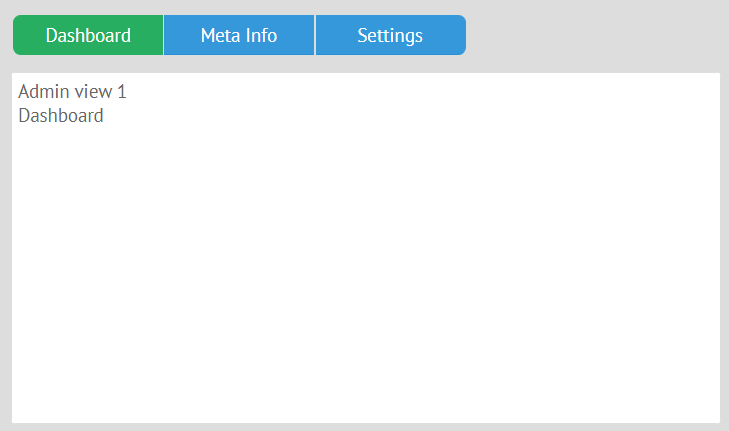
Jet views can be included into Multiview. First, you need to create Multiview and put Jet views as $subviews into each cell. Next, add a control to switch between Multiview cells - for example, a segmented button. segmented needs IDs of the subviews. It is very important not to define IDs outside the file with Multiview, because it is unsafe. A better approach is to give IDs to the contents of the Multiview cells.
Copy // views/top.js
import {JetView} from "webix-jet" ;
import {ChildView1} from "views/childview1" ;
import {ChildView2} from "views/childview2" ;
export default class TopView extends JetView {
config (){
return {
rows : [
{ view : "segmented" , multiview : true , options : [
"Dashboard" , "Meta Info"
]} ,
{ view : "multiview" , cells : [
{ $subview : ChildView1 , id : "Dashboard" } , //load views/childview1.js
{ $subview : ChildView2 , id : "Meta Info" } //load views/childview2.js
]}
]
};
}
} Check out the demo on GitHub >>
2. Tabview
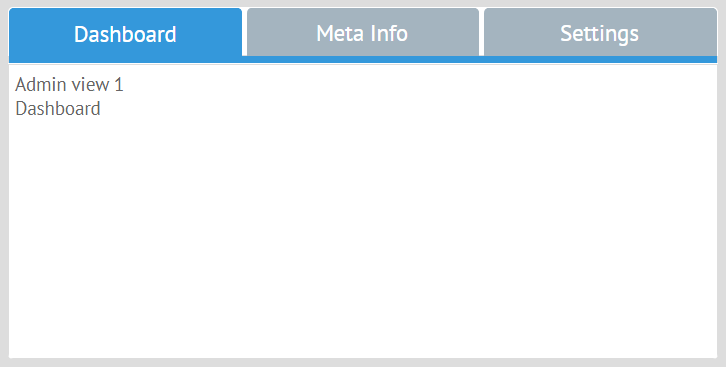
You can also put subviews into a Tabview. In this case you do not need IDs, you need to import the subviews and place them into the body of Tabview cells:
Copy // views/top.js
import {JetView} from "webix-jet" ;
import ChildView1 from "views/childview1" ;
import ChildView2 from "views/childview2" ;
export default class TopView extends JetView {
config (){
return {
rows : [
{ view : "tabview" , cells : [
{ header : "Dashboard" , body : ChildView1 } ,
{ header : "Meta Info" , body : ChildView2 }
]}
]
};
}
} You can also add tabs with Jet views into TabView with addView() . A new instance of Jet view can be created with the class constructor.
Copy // views/top.js
import {JetView} from "webix-jet" ;
import ChildView1 from "views/childview1" ;
import ChildView2 from "views/childview2" ;
import NewTabView from "views/newtab" ;
export default class TopView extends JetView {
config (){
return {
rows : [
{
view : "button" , value : "Add new" , click : () => {
this .addTab ();
}
} ,
{ view : "tabview" , localId : "tabs" , cells : [
{ header : "Dashboard" , body : ChildView1 } ,
{ header : "Meta Info" , body : ChildView2 }
]}
]
};
}
addTab (){
this .$$ ( "tabs" ) .addView ({
header : "New Tab" ,
body :new NewTabView ( this .app) //a class view
})
}
} Check out the solution on GitHub >>
Jet Views in Webix Dashboard
You can put Jet views on panels of Webix Dashboard .
Static panels
Static panels can be created in cells :
Copy // views/dashboard.js
import {JetView} from "webix-jet" ;
import AdminView1 from "views/admin1.js" ;
export default class TopView extends JetView {
config (){
return {
view : "dashboard" ,
gridColumns : 4 , gridRows : 4 ,
cellHeight : 200 ,
cells : [
{
view : "panel" ,
x : 0 , y : 0 , dx : 1 , dy : 1 ,
body : AdminView1
}
]
};
}
} Dynamic panels
You can also create a dynamic dashboard with Jet views. For example, panels can be dragged from a list like this:
Copy // views/dashboard.js
import {JetView} from "webix-jet" ;
import AdminView1 from "views/admin1.js" ;
import AdminView2 from "views/admin2.js" ;
...
export default class TopView extends JetView {
config (){
return {
cols : [
{ view : "list" , id : "list" ,
width : 200 ,
drag : "source" ,
template : "#value# - (#dx#x#dy#)" ,
data : [
{ id : "1" , value : "AdminView1" , dx : 1 , dy : 1 } ,
{ id : "2" , value : "AdminView2" , dx : 1 , dy : 2 } ,
...
]
} ,
{
view : "dashboard" , id : "grid" ,
gridColumns : 4 , gridRows : 4 ,
cellHeight : 200
}
]
};
}
} Dynamic Dashboard panels can be created with a factory cells .
Save all the Jet views in class properties. After that define the factory that will place Jet views on panels:
Copy // views/dashboard.js
import {JetView} from "webix-jet" ;
import AdminView1 from "views/admin1.js" ;
import AdminView2 from "views/admin2.js" ;
...
export default class DashboardView extends JetView {
config (){
return {
cols : [
// ...list
{
view : "dashboard" , id : "grid" ,
gridColumns : 4 , gridRows : 4 ,
cellHeight : 200 ,
factory : (obj) => {
obj .view = "panel" ;
obj .resize = true ;
obj .body = this [ $$ ( "list" ) .getItem ( obj .name).value];
return obj;
}
}
]
};
}
init (){
this .AdminView1 = AdminView1;
this .AdminView2 = AdminView2;
...
}
} Check out the demo >>
Jet Views as Subviews and Subgrids of Webix Datatable
You can also nest Jet views of any complexity into Datatable by including them into Datatable subviews [1] .
Let's add subviews into this datatable:
Copy // views/top.js
import {JetView} from "webix-jet" ;
export default class TopView extends JetView {
config (){
return {
view : "datatable" ,
columns : [
{ id : "title" , header : "Title" , sort : "string" ,
template : "{common.subrow()} #title#" , width : 220 } ,
{ id : "year" , header : "Year" , width : 100 , sort : "int" } ,
{ id : "votes" , header : "Votes" , width : 100 , sort : "int" }
] ,
data : [
{ id : 1 , title : "The Shawshank Redemption" , year : 1994 , votes : 678790 } ,
{ id : 2 , title : "The Godfather" , year : 1972 , votes : 511495 } ,
{ id : 3 , title : "The Godfather: Part II" , year : 1974 , votes : 319352 }
]
};
}
} One Jet view class will be used for all subviews, but with different data. Let's use the ability to create Jet class instances with constructors.
This will work only for synchronous Jet views.
Let's define the constructor that will call the parent constructor of the JetView class and then get the right data from a parent row of Datatable:
Copy // views/subgrid.js
import {JetView} from "webix-jet" ;
export default class SubLayout extends JetView {
constructor (app , data){
super (app);
this .customData = data;
}
config (){
return {
rows : [
{ type : "header" , template : () => this . customData .title } ,
{ template : "Subview" , height : 30 }
]
}
}
} Let's include SubLayout into the Datatable in TopView . subview of Datatable can be defined as a function with two parameters:
obj - and object with the item data,
target - the HTML node below the row where the subview will be opened.
The subview function must return the UI of the subview.
You can create instances of SubLayout with right data inside config() of TopView . Call the constructor and pass the data as the third parameter. Then, use this.ui() to place the SubLayout below the row of Datatable and the return the UI of the newly created Jet view:
Copy // views/top.js
import {JetView} from "webix-jet" ;
export default class TopView extends JetView {
config (){
return {
view : "datatable" ,
subview : (obj , target) => {
const sub = new SubLayout ( this .app , "" , {
title : obj .title
});
this .ui (sub , { container : target });
return sub .getRoot ();
} ,
//datatable config
};
}
} Using addView() with Jet Views
You can use Webix addView() method to add Jet views into Webix layouts [1] . You can add new elements on the fly, which is especially important for Dashboard. Also, addView() can be used with Layout, Tabview, Multiview, Carousel, etc.
Copy this .$$ ( "layout" ) .addView (WebixJetView); Check out the demo >>
[1]:
Starting with Webix 5.3