Plugins
Webix Jet provides predefined plugins and the ability to create custom plugins.
View Plugins
These plugins are enabled for a specific view by view.use():
the Menu plugin
the UnloadGuard plugin
the Status plugin
the UrlParam plugin
App Plugins
These plugins are enabled for the whole app with app.use():
the User plugin
the Theme plugin
the Locale plugin
Menu Plugin
The Menu plugin simplifies your life if you plan to create a menu for navigation:
it sets subview URLs for menu options, buttons or other controls you plan to use for navigation;
it automatically highlights the right menu option after a page reload or change of the URL.
The plugin must be enabled in the Jet view that contains the menu with view.use() (call it as this.use()). After the plugin name, you must specify the local ID of the Webix control or widget that you want to use as a menu:
Subview URLs are taken from menu option IDs or from values if there are no IDs. If you want to change some URL, you can add custom subview URLs in the plugin configuration:
Using the Plugin to Change URL Parameters
You can set the Menu plugin in the way that it does not go to a different path, but changes a certain URL parameter. Use the param config setting for this. param accepts a string with the parameter name, e.g.:
If you use the Menu plugin with param setting together with the UrlParam, the parameter will be displayed in the URL as a URL segment:
UnloadGuard Plugin
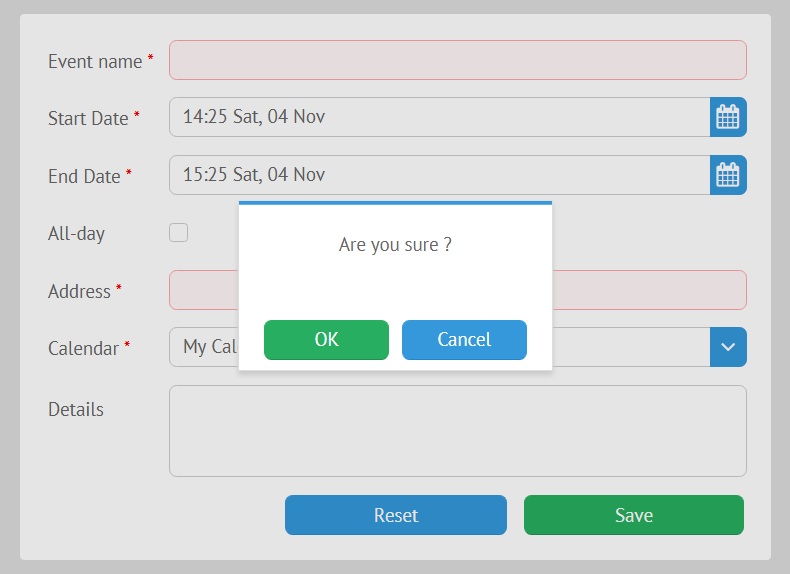
The UnloadGuard plugin can be used to prevent users from leaving the view on some conditions. For example, this can be useful in the case of forms with unsaved or invalid data. The plugin can intercept the event of leaving the current view and e.g. show a confirmation dialogue.
The syntax for using the plugin is this.use(plugin,handler).
this.use() takes two parameters:
the plugin name
the function that will define the behavior of the plugin
The UnloadGuard plugin expects a function that returns true if the access must be granted and false if not. The function can also return a promise, resolved and rejected correspondingly.
UnloadGuard can be used for form validation, for example. Let's have a look at a form with one input field that must not be empty:
Let's enable UnloadGuard and show a confirmation window if the input is invalid. Webix confirmation windows and other modal boxes return promises.
If the form input is not valid, the function returns a promise. Depending on the answer, the promise either resolves and UnloadGuard lets the user go to the next view, or it rejects. No pasaran.
Status Plugin
This plugin is useful if you want to show the status of data loading in case it takes time, to confirm success or to show an error message.
These are the status messages that you can see:
"Ok",
"Error",
"Connecting...".
Status is enabled with this.use() with two parameters:
the plugin name;
the plugin configuration (a string or an object).
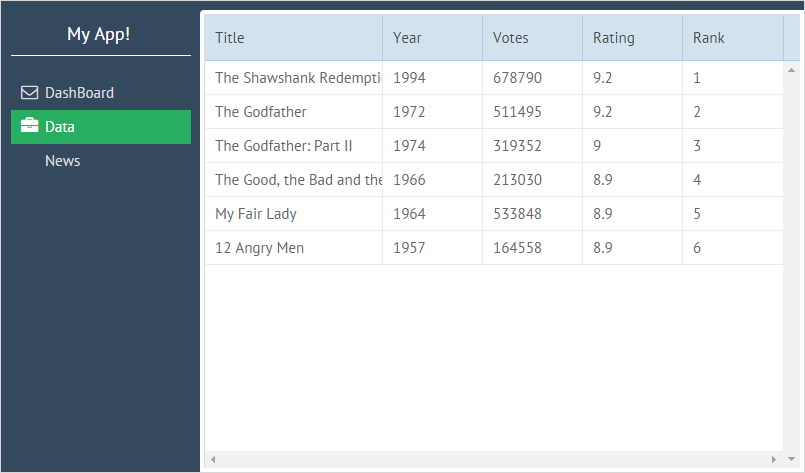
The plugin configuration must contain at least the ID of the widget that will show the status. This is the simplest way to use the plugin to display the status of data loading into a datatable:
Status configuration can have several properties:
target (string) is the ID of the widget where you want to display the status message;
ajax (Boolean) enables asynchronous requests;
expire (number) defines the time after which the status message disappears (by default, 2000 ms). If you set it to 0, the status message will stay as long as the view is open;
data (string) defines the ID of the data component to track;
remote (Boolean) enables webix.remote - a protocol that allows the client component to call functions on the server directly.
UrlParam Plugin
The plugin allows treating URL segments as parameters. It makes them accessible via view.getParam() and correctly weeds them out of the URL.
UrlParam is enabled with this.use() with two parameters:
the plugin name;
an array with parameter name(s).
Let's consider a simple example with a parent view some and its child details:
When loading the URL "/some/23/details", you need to treat the segment after some (23) as a parameter of some. Enable the plugin in the init() method of some:
details will be rendered inside some, and the fragment 23 will be displayed in the address bar, but will not be resolved as a view module.
User Plugin
The User plugin is useful for apps with authorization.
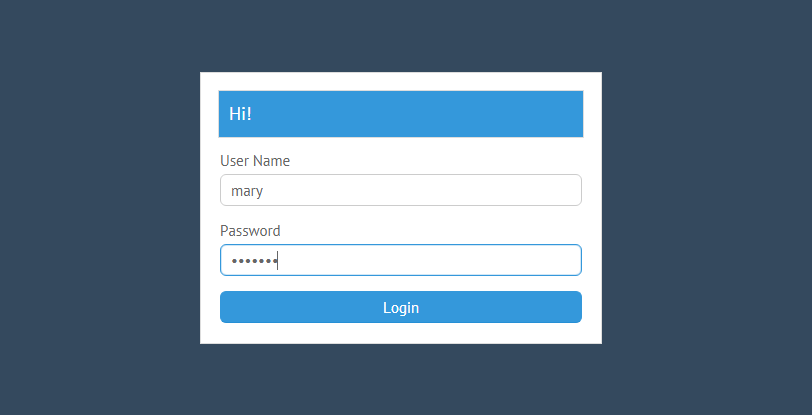
Login through a Custom Script
This section contains guidelines for using the plugin with a custom script.
Related demos:
Enabling the Plugin
To enable the plugin, call app.use() with two parameters:
the plugin name,
the plugin configuration.
Plugin Configuration
The plugin configuration can include the following settings:
model is a specific session model configured by the developer according to the requirements needed for correct authorization;
login (string) is the URL of the login form, "/login" by default;
logout (string) is a logout link that could be reserved to automatically perform logout and redirect to
afterLogoutpage (if specified, otherwise the app will use the default redirect to the login page), "/logout" by default;
afterLogin (string) is the URL shown after logging in, by default taken from app.config.start;
afterLogout (string) is a link that works only with logout. Provides specific redirect after logging out via logout link, "/login" by default;
user (object) includes some default user credentials;
ping (number) is the time interval for checking the current user status, 30000 ms by default;
public (function) allows adding pages accessible by unauthorized users.
The Session Model
The session model should contain three main methods:
login()logs the user in and also redirects either to the specifiedafterLoginor App's start page (i.e. default redirect isapp.config.start)
The parameters are:
user - username;
pass - password.
To implement logging in, you should call the login() method. Once login() is called and the response with some user credentials (JSON object with a name or a promise, for example) is received, the User plugin will automatically redirect the user to the specified start page and will consider the server response as user credentials.
Let's define the do_login() method that will call login() from a form:
logout()logs the user out, but does not trigger any automatic redirect until it is initiated by the user or app's logic
This is how you can call the method:
status()returns the status of the current user
Each method should return a promise.
Check out basic examples:
Both examples are nearly identical, all requests are implemented with webix.ajax().
E.g. the PHP session model contains requests to php scripts for logging in, getting the current status, and logging out.
Related demo:
Getting User Info & Checking the User Status
The getUser() method returns the data of the currently logged in user.
The getStatus() method returns the current status of the user. It can receive an optional Boolean parameter the server: if it is set to true, the method will send an AJAX request to check the status.
The User plugin checks every 5 minutes (time lapse is defined by the ping setting of the plugin) the current user status and warns a user if the status has been changed. For example, if a user logged in and didn't perform any actions on the page during some time, the plugin will check the status and warn the user if it has been changed.
Adding Public Pages
By default, unauthorized users can see only the "login" page. You can add other pages that all users are allowed to access. Use the public setting of the plugin configuration object. public must be a function that returns true for public pages and false for the rest:
Login with an external OAuth service (Google, GitHub, etc.)
If you need authorization with an OAuth service, you need to change the way to log in. logout() and status() in the session model are the same as for the custom script.
A demo of login with passport and Google OAuth2
Theme plugin
This is a plugin for changing app themes.
Enabling the Plugin
This is how you can enable the plugin:
The plugin has two methods:
getTheme() returns the name of the current theme;
setTheme(name) takes one obligatory parameter - the name of the theme - and sets the theme for the app.
Adding Stylesheets
The service locates links to stylesheets by their title attributes. Here are the stylesheets for the app, e.g.:
Setting Themes
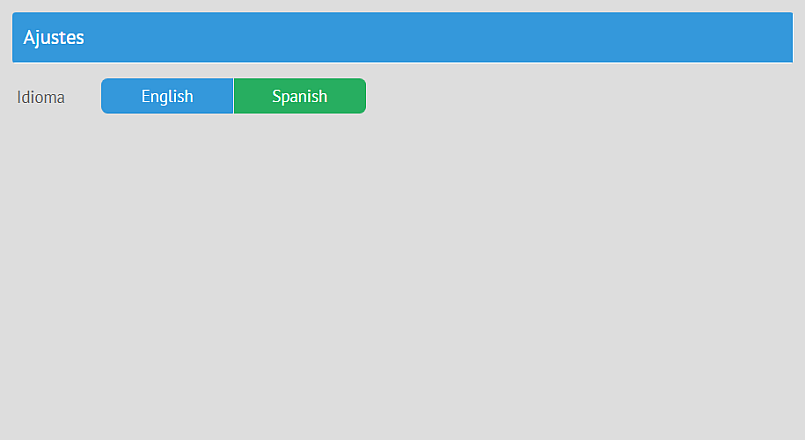
You need to provide a way for users to choose a theme. For example, let's add a segmented button:
The option IDs of the segmented have two parts. The first part must be the same as the title attribute of the link to a stylesheet. The theme service gets the theme name from this part of the ID, locates the correct stylesheet and sets the theme.
Let's implement toggling themes as a method of the SettingsView class. The $$ method locates the segmented by its local ID and gets the user's choice. After that, the service sets the chosen theme by adding a corresponding CSS class name to the body of the HTML page.
Restoring The State of the Control
getTheme() can be used to restore the state of the segmented button after the new theme is applied. Let's get the current theme in config() and set the value of the segmented setting it to the correct value:
Locale plugin
This is a plugin for localizing apps.
Enabling the Plugin
You can enable the Locale plugin before the app is rendered:
You must create files with all the text labels in English and their translations in the locales folder. This is an example of the Spanish locale file:
Changing the Default Locale
The default locale is English. You can change it while enabling the plugin:
Applying the Locale
To translate all the text labels, you need to apply the _() method of the service to each label. The method takes one parameter - a text string. _() looks for the string in a locale file and returns the translation. E.g. this.app.getService\("locale"\).\_\("My Profile"\) will return "Mi Perfil" if Spanish is chosen.
For example, let's apply the _() method to a small menu:
Dynamically Changing Locales
If you want your app to be multilingual and let the users to choose a language, you can add a control for that.
To set a new language, use the setLang() method of the locale service. setLang() takes one parameter - the name of the locale file. When a user chooses a language, a locale file is located and the app language is changed.
Do not call setLang() in lifetime handlers of JetView! It calls app.refresh() that re-renders all the views, which will start an infinite loop.
Let's create a simple page for app settings with a segmented button that will be used to choose languages. Note that the IDs of the button options should be the same as the locale file names (e.g. "es", "en").
toggleLanguage() is a class method that will:
get the value of the segmented button,
pass it to setLang() that will set the locale.
Getting the Current Locale
To check the current language, use the getLang() method. It can be useful for restoring the value of the settings control, e.g.:
Storing the Language
To restore the last chosen language when the app is opened again, set the storage setting of the plugin, e.g. you can choose the local storage:
Path for the Locale Plugin
You can also set path to a subfolder (subpath) inside the jet-locale folder, in which you want the plugin to look for translations:
You can also disable locale loading from jet-locales using the same setting:
Combining with Webix Locales
The Locale plugin has the additional setting for using Webix locales alongside with the Jet app locale.
Splitting Localization
If a lot of text in your app needs to be translated, you can split localizations and load them when they are needed. The source of a locale can be anything, e.g. inline or a result of an AJAX request:
Configuring Polyglot
The Locale plugin uses the Polyglot library, which has settings of its own. You can use these settings in the config of the plugin:
Custom Plugins
You can create a service and use it as an app-level plugin.
Such services should be included into the application in the start file (e.g. myapp.js):
And any view will be able to use it as:
Last updated