Deploying and Testing
Deploying the App on the Server
When your app is complete, you need to build it for production.
If you are using webpack.config.js from the jet-start project, you can run either of these commands:
or
Any of these commands will compile the whole app in two files, myapp.css and myapp.js, which will be stored in the codebase folder (names may differ, based on the webpack config).
Now, you need to upload the files from codebase and index.html (the html page which is stored at the root of the project) to the production server.
Deploying on a Back-end Server
To deploy the app on the back-end server (e.g. Tomcat), put the codebase folder inside the web-folder of the server.
Webix Version
By default, index.html uses the CDN version of Webix (GPL). If you are using Webix PRO, you need to change paths in index.html to the place where webix.min.js and webix.min.css are stored on your production server.
After building the app, you need to include the following files:
index.html,
myapp.js and myapp.css from the codebase folder,
webix.min.js,
webix.min.css (or the needed skin stylesheet from the skins folder),
the fonts folder that contains Webix icons and fonts,
the legacy folder (used for IE compatibility).
If you use icons outside the default icon set, also include a link to the stylesheet with the icons.
Testing the App
To check the quality of the source code, run the following command:
To test the source code, you can use the mocha test example from the tests branch of jet-start.
Once you have:
added setup.js to prepare the JSDOM environment for testing,
added webpack.test.config.js,
made necessary changes to your package.json (npm script for mocha and dev dependencies),
added test files for each view and model file in your project,
run the following command:
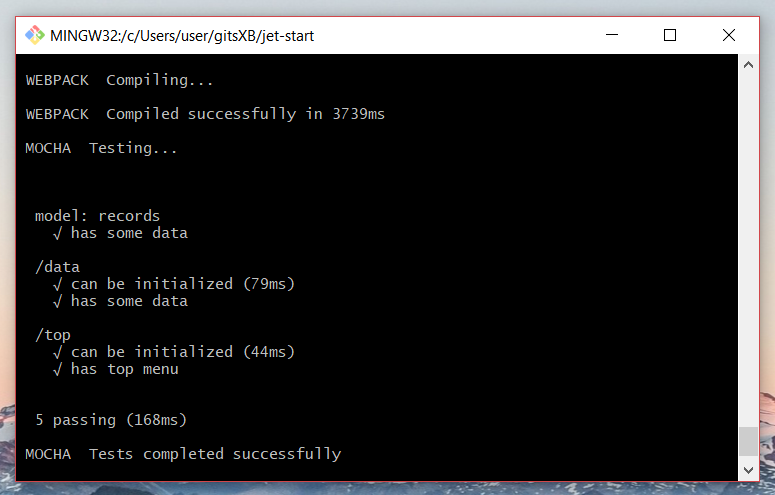
After the tests are complete, you will see something like this:
Last updated