Popups and Windows
Temporary views like popups and windows can be created with this.ui(). It returns the UI object. this.ui() takes care of the windows it creates and destroys them when their parent views are destroyed.
Windows as Simple Views
Consider a simple popup view that will appear in the center of the screen:
Let's define a view class that will create this popup:
The popup can be created in init() of TopView. Add a new win1 property to the class (this.win1), initialize the popup with this.ui() and assign it to the win1 property. this.ui() returns a UI object with all Webix methods of the view.
To show the popup, you must get the win1 property of the class and call the show() method of the Webix popup. This is the button click handler that shows the popup:
this.win1.show() renders the popup at a position, defined in the config of the popup (position:"center"). If you don't set position, win1 will be rendered in the top left corner.
Note
Windows and popups created with this.ui have a peculiar feature. Once a window is created, its config is put in an anonymous Jet view, initialized specifically for this purpose. As a result, the $scope property of a window will refer not to its master Jet view, but to this anonymous view. To get to the master view that created the window, call this.$scope.getParentView() from a simple function and this.getParentView() from an arrow function.
Windows as Jet View Classes
You can define windows and popups as view classes as well. Have a look at a similar popup, defined as a class:
This popup, when shown, will appear at a fixed position on screen (top:200, left:300).
Because this popup view is a class, you have to define the method (or attach an event) that will call the show() method of a Webix popup.
this.getRoot() refers to the popup UI returned by config().
To show this popup, you must call showWindow.
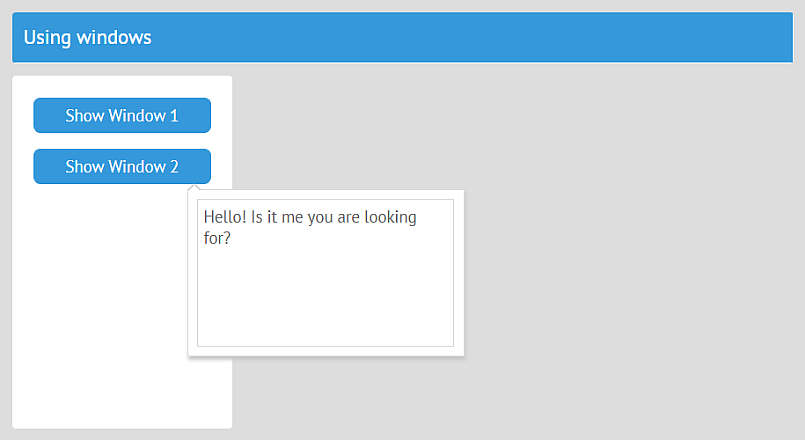
Here's how you initiate and show this class popup by TopView:
To create a popup, use this.ui() inside init() of TopView.
Add a new win2 property, create the popup with this.ui() and assign the popup to win2.
this.ui() returns a class, so you can call class methods. To show the popup, call showWindow().
Check out the demo on GitHub >>
Jet View Embedded in the Body of a Window/Popup
You can also embed Jet views into the body of a window or a popup. For instance, this is the Jet class view you want to embed:
To embed this view in a window, import it and put it into the window body:
Including Windows in the app URL
Jet views inside windows can have complex structures, e.g. with several layers of subviews. In this case it would be useful to keep the UI of the window in the app URL and navigate inside the window in the same way as it is done for the rest of Jet views.
The solution is to include a view with a window as a dynamic subview. The window will still be shown above the UI of the parent, but otherwise will behave as an ordinary subview. Follow these steps:
create a $subview:true element in the parent view and add the popup:true property to it,
show the window-view with this.show().
"popup" is the file with the window, e.g.:
Adding a Context Menu
You can also attach a context menu to widgets with this.ui().
Let's attach a context menu to a simple template. This is a Jet view with the template:
The context menu will be created by this.ui() in init() of the top view. After that, the context menu will be attached to the template. To reference the template, you can use its local ID:
You do not need to destroy the context menu when its master view is destroyed.
Last updated
